Last October, one of my good friends went to Spain, and I begged her, pleaded with her, and generally harassed her to bring me back some Spanish paprika.
Being a totally amazing person, she not only brought me some Spanish paprika, she brought me two different kinds: sweet and hot.
I had a feeling that Spanish paprika from Spain would taste different than the Spanish paprika available here in Canada. What I didn't know was just how different the Spanish stuff would be. It's so much more intense and smoky. Clearly I have not experienced paprika until this moment.
Over the holidays, we got together and used the paprika to cook up a paella (which tasted awesome, but had a problem with the rice being a little soggy).
But I haven't touched the stuff since... until Wednesday night.
Braised Spanish Lentils
(adapted from Mark Bittman)
Ingredients
1 tbsp olive oil
1 carrot, peeled and chopped (I used the last of my heirloom ones - a yellow variety)
1 onion, peeled and chopped
1 stalk celery, peeled and chopped
2 cloves garlic, peeled and minced
1 tbsp Spanish paprika
1 bay leaf
½ cup dry sherry
2 cups vegetable or chicken stock
1 cup lentils (use brown, French or mixed - don't use all red, they have a tendency to fall apart), rinsed and picked over
kosher salt and pepper to taste
handful chopped parsley
Directions
1. Heat oil in a saucepan over medium-low heat. Add carrots, onions and celery and sauté until softened, about 5 minutes.
2. Stir in garlic and paprika. Cook for one minute, or until fragrant. Then add in bay leaf, sherry, stock and lentils. Bring to a boil, then reduce heat and simmer, partially covered for about 20 minutes, or until lentils are tender. You may need to add additional water or stock throughout the simmering time to keep lentils from getting too dry. Ultimately, you want the lentils to have a thick, soupy consistency.
3. Season with salt and pepper to taste and stir in parsley. Serve with a rice pilaf (basic recipe can be found here) seasoned with chopped Spanish olives and toasted almonds. Leftovers of both are great for lunch the following day!
Showing posts with label how to cook everything vegetarian. Show all posts
Saturday, March 05, 2011
Thursday, February 24, 2011
Ingredient of the Week: Kasha
We don't eat a lot of grains in our house. I'm not a pasta person by any stretch of the imagination, and before Japan, I just didn't get excited about rice. So, when it came to that starchy side, I was all about potatoes.
But in the last five or so years, we've really tried to incorporate more interesting grains into our diet. I've long since loved couscous and brown basmati rice, but having other grains like quinoa and bulgur on the dinner table has only started in the past couple of years.
I'm proud to say that in the little nook of our apartment my husband has christened Lentil Corner, we currently have basmati, brown and sushi rice along with Israeli couscous and black quinoa.
So, we're progressing along nicely with our alternative grains.
This week, we decided to buy some kasha. If you don't know, kasha is roasted buckwheat. It looks like little pyramid shaped grains. If you've ever had soba noodles, that distinctive grassy taste you're getting is from the buckwheat flour in it.
I picked it up from a new bulk health store that just opened up around the corner from us. When I opened the bin, I was hit by that heady roasted, grassy aroma that reminded me instantly of the buckwheat tea I used to buy in Japan.
But, instead of heading to Japan for today's flavour profile, we decided to head to Eastern Europe and a great recipe from Mark Bittman.
Kasha with Golden Brown Onions
(Mark Bittman: recipe source here)
Ingredients
3 cups chopped onion
3 tablespoons neutral oil, like grapeseed or corn
1 egg or 2 tablespoons natural oil, like grapeseed or corn (I went the egg route)
1 cup kasha
Salt and freshly ground black pepper
2 cups chicken, beef, or vegetable stock or water, warmed
1 to 2 tablespoons butter (optional)
Directions
1. Sauté the onion in a large skillet. Make sure the skillet has a lid, because you're going to cover the onion almost immediately and cook for about 15 minutes, until the onion is dry and almost sticking to the pan. Almost, but not quite. Don't worry, the steam created by the cooking onion should prevent it. Add the 3 tablespoons oil, raise the heat to medium-high, and cook, stirring, until the onion is nicely browned, another 15 minutes or so.
But in the last five or so years, we've really tried to incorporate more interesting grains into our diet. I've long since loved couscous and brown basmati rice, but having other grains like quinoa and bulgur on the dinner table has only started in the past couple of years.
I'm proud to say that in the little nook of our apartment my husband has christened Lentil Corner, we currently have basmati, brown and sushi rice along with Israeli couscous and black quinoa.
So, we're progressing along nicely with our alternative grains.
This week, we decided to buy some kasha. If you don't know, kasha is roasted buckwheat. It looks like little pyramid shaped grains. If you've ever had soba noodles, that distinctive grassy taste you're getting is from the buckwheat flour in it.
I picked it up from a new bulk health store that just opened up around the corner from us. When I opened the bin, I was hit by that heady roasted, grassy aroma that reminded me instantly of the buckwheat tea I used to buy in Japan.
| Soba Tea: source |
Kasha with Golden Brown Onions
(Mark Bittman: recipe source here)
Ingredients
3 cups chopped onion
3 tablespoons neutral oil, like grapeseed or corn
1 egg or 2 tablespoons natural oil, like grapeseed or corn (I went the egg route)
1 cup kasha
Salt and freshly ground black pepper
2 cups chicken, beef, or vegetable stock or water, warmed
1 to 2 tablespoons butter (optional)
Directions
1. Sauté the onion in a large skillet. Make sure the skillet has a lid, because you're going to cover the onion almost immediately and cook for about 15 minutes, until the onion is dry and almost sticking to the pan. Almost, but not quite. Don't worry, the steam created by the cooking onion should prevent it. Add the 3 tablespoons oil, raise the heat to medium-high, and cook, stirring, until the onion is nicely browned, another 15 minutes or so.
2. If you've decided to go the egg route, beat it, then toss it in a bowl with the kasha. (If not, skip on down to step 3). Heavily season mixture with salt and pepper and place in a large, deep skillet or pot over medium heat. Cook, stirring, until the mixture smells toasty, about 3 minutes. Proceed to step 4.
3. If you're using the 2 tablespoons oil instead of egg, put it in a heavy, deep skillet over medium-high heat. When hot, add the kasha, along with some salt and pepper, and cook, stirring, until the mixture smells toasty, about 3 minutes.
4-Turn the heat way down,, carefully add the stock, and stir once. Cover and cook until the liquid is absorbed, about 15 minutes. Turn off the heat. Stir in the onion, taste, and adjust the seasoning. Serve or let the kasha sit for up to 30 minutes before serving. (This step makes it a great choice for a make-ahead meal)
When you're ready to serve, fluff with a fork, adding the butter if you like at the same time. Works great with braised red cabbage. While I made Bittman's recipe for braised red cabbage from the same cookbook, I wasn't as enamoured with it as I have other recipes - more specifically this recipe. So, I recommend you try that one out.
The kasha needs something sweet and tangy to play off its earthiness!
Wednesday, February 23, 2011
Slow Cooked Baked Beans
If you happen to have a few hours on your hands to let the oven work it's magic, and you're in the clutches of a winter storm, I have just the antidote: baked beans.
Now, to be clear, these aren't your canned Heinz variety. And, while I'm sure they'd be very good on toast, they're even better paired with a spicy sausage, cornbread and some coleslaw. Yes, the flavour profile is the same (molasses, tomato, bacon) as those canned, but these taste infinite better and the consistency of the bean is toothsome and not mushy at all, because you'll be using dried beans.
Wait a minute, I can practically hear you saying through my computer screen, did you say dried beans? Don't beans require soaking time?
Good news, my friends, use a small bean (I used navy beans) and you can just dump them in to the pot. The great advantage to this is they cook in the flavoured liquid, which means they're infused inside and out with sweet, smoky goodness.
I adapted this recipe from a vegetarian version by Mark Bittman. He uses konbu (seaweed) to tenderize the beans and add some of that earthy flavour that the traditional version gets from bacon.
Since I had the bacon (and since it was the good stuff), I decided to use it. I mean, I have the konbu too... but in a competition of bacon vs seaweed, I'm going to declare bacon the winner.
You know what the best part of this is? It's just so darned simple. There are very, very few ingredients.
Few ingredients = easy prep. And we all love easy prep, don't we? Once this is in the oven, there's very little left for you to do other than to stir it and check on the water levels.
Baked Beans
(adapted from Mark Bittman's How to Cook Everything Vegetarian)
Ingredients
½ lb slab bacon, chopped
½ -1 tbsp canola oil
2 medium onions, chopped
¼ cup tomato paste
6 cups water
¼ cup molasses
2 tsp mustard powder
1 lb small dried beans (like navy)
2 tsp salt
pepper to taste
(optional: a minced chipotle in adobo sauce, or replace with molasses with maple syrup and throw a chopped apple in)
Directions
1. Preheat oven to 300º.
2.. In a dutch oven placed over medium heat, cook bacon until fat is rendered, about 7 minutes. Remove bacon with a slotted spoon and set aside. Add enough canola oil to the fat in the pan to make 3 tbsp oil total. It's possible you won't need to add any extra at all or may have to remove some fat.
Bacon fat. It's flavour country.
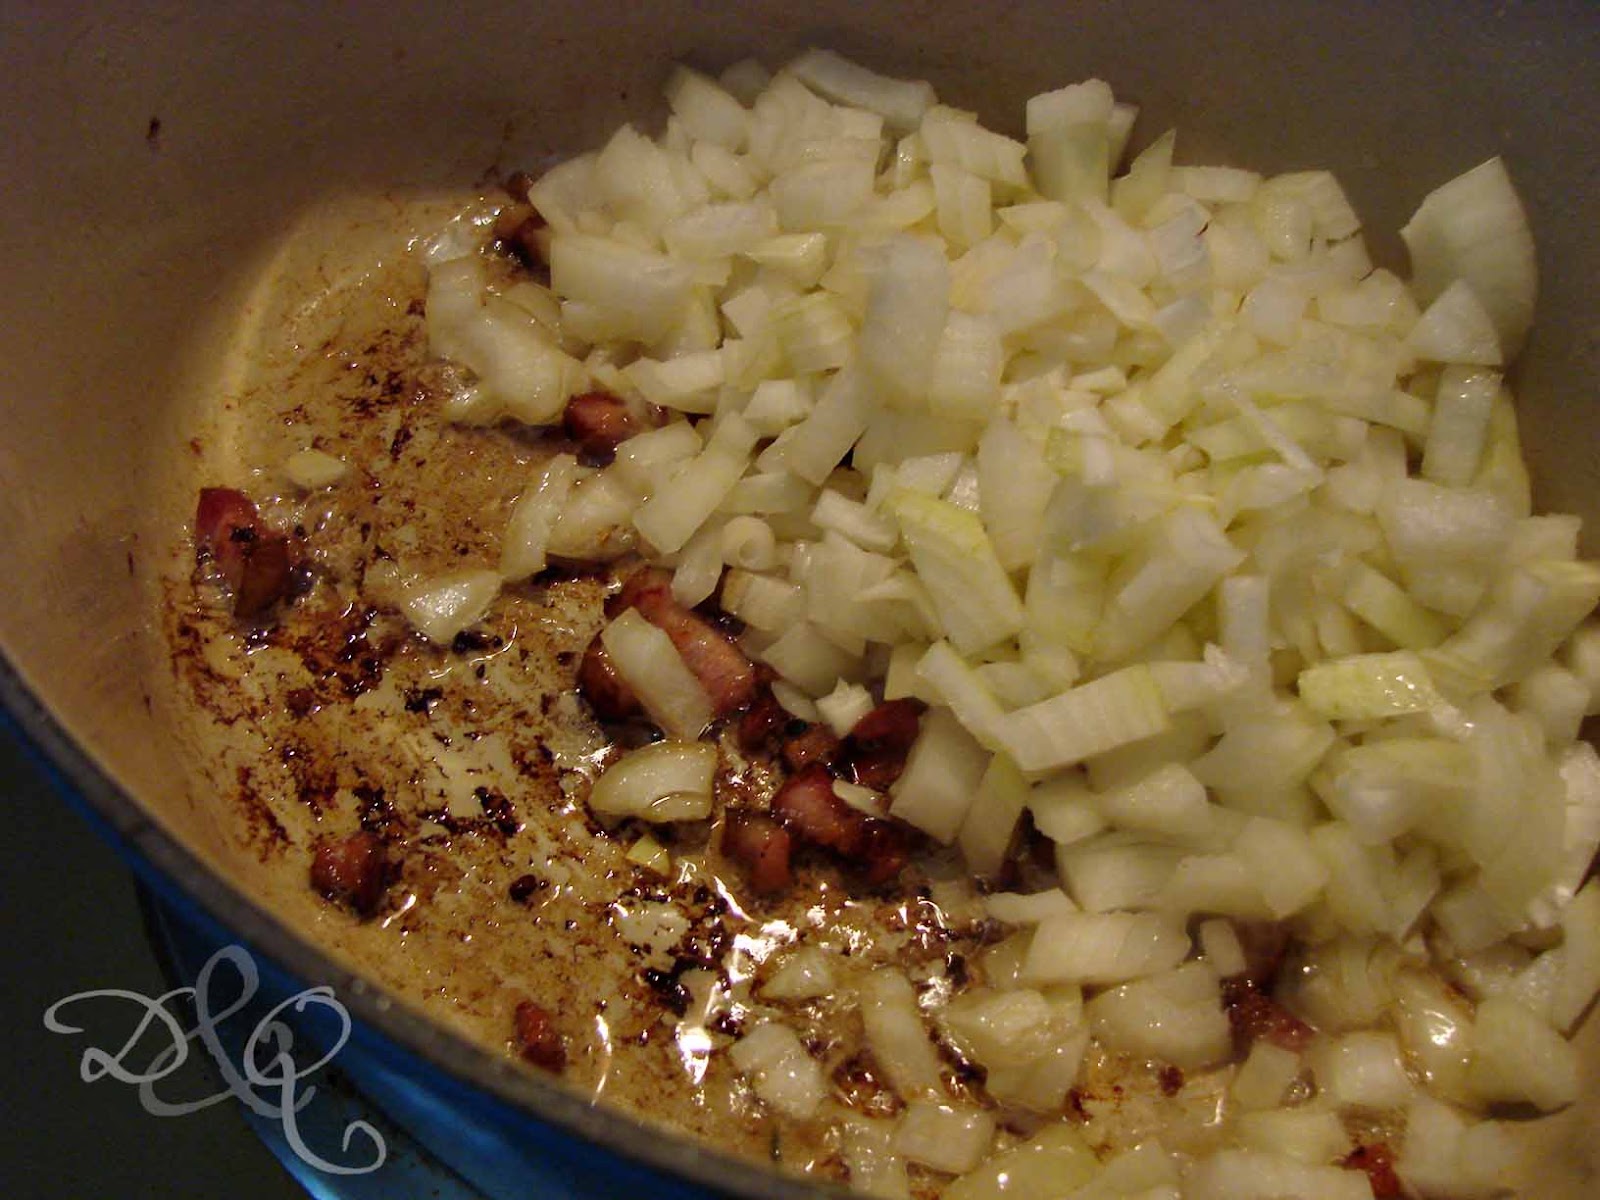
3. Add onions to the fat and sauté until softened and just beginning to turn brown, about 5 minutes more.
Stir in tomato paste, and cook for about 1 minute, stirring to pick up all the brown goodness at the bottom of the pan.
Stir in water, molasses, mustard powder and beans (do not add the salt yet, this will result in a tough bean).
Cover dutch oven with lid and place in the oven for 1 hour.
4. Check on beans after the first hour in the oven. Stir and check on water level. They should still be covered by an inch or so of liquid. If they aren't, add some more water. Return to oven for another hour.
5. After they've spent two hours in the oven, stir the beans again and check on the liquid level. Cover and bake for an additional hour, stirring and checking the liquid level every 30 minutes or so. The beans should become tender between hours 2 and 3 in the oven. It took mine closer to the 3 hour mark.
6. Once the beans are tender, remove the lid from the dutch oven and crank the heat up to 400º. Stir in salt and pepper. If you want to add more mustard or molasses, feel free to do that here too. You want to reduce all that liquid now, so return the pot to the oven and let cook for about 30 minutes more, or until the sauce is thick.
Like just about all things that are slow cooked, these are much better the following day. If you want to be really authentic about the whole deal, make some steamed brown bread.
Now, to be clear, these aren't your canned Heinz variety. And, while I'm sure they'd be very good on toast, they're even better paired with a spicy sausage, cornbread and some coleslaw. Yes, the flavour profile is the same (molasses, tomato, bacon) as those canned, but these taste infinite better and the consistency of the bean is toothsome and not mushy at all, because you'll be using dried beans.
Wait a minute, I can practically hear you saying through my computer screen, did you say dried beans? Don't beans require soaking time?
Good news, my friends, use a small bean (I used navy beans) and you can just dump them in to the pot. The great advantage to this is they cook in the flavoured liquid, which means they're infused inside and out with sweet, smoky goodness.
I adapted this recipe from a vegetarian version by Mark Bittman. He uses konbu (seaweed) to tenderize the beans and add some of that earthy flavour that the traditional version gets from bacon.
Since I had the bacon (and since it was the good stuff), I decided to use it. I mean, I have the konbu too... but in a competition of bacon vs seaweed, I'm going to declare bacon the winner.
You know what the best part of this is? It's just so darned simple. There are very, very few ingredients.
![]() |
| missing: molasses, salt and pepper |
Baked Beans
(adapted from Mark Bittman's How to Cook Everything Vegetarian)
Ingredients
½ lb slab bacon, chopped
½ -1 tbsp canola oil
2 medium onions, chopped
¼ cup tomato paste
6 cups water
¼ cup molasses
2 tsp mustard powder
1 lb small dried beans (like navy)
2 tsp salt
pepper to taste
(optional: a minced chipotle in adobo sauce, or replace with molasses with maple syrup and throw a chopped apple in)
Directions
1. Preheat oven to 300º.
2.. In a dutch oven placed over medium heat, cook bacon until fat is rendered, about 7 minutes. Remove bacon with a slotted spoon and set aside. Add enough canola oil to the fat in the pan to make 3 tbsp oil total. It's possible you won't need to add any extra at all or may have to remove some fat.
Bacon fat. It's flavour country.
3. Add onions to the fat and sauté until softened and just beginning to turn brown, about 5 minutes more.
Stir in tomato paste, and cook for about 1 minute, stirring to pick up all the brown goodness at the bottom of the pan.
![]() |
| tomato paste in a tube, where have you been all my life? |
Stir in water, molasses, mustard powder and beans (do not add the salt yet, this will result in a tough bean).
Cover dutch oven with lid and place in the oven for 1 hour.
4. Check on beans after the first hour in the oven. Stir and check on water level. They should still be covered by an inch or so of liquid. If they aren't, add some more water. Return to oven for another hour.
![]() |
| not cooked yet! |
![]() |
| Beans are plumping up nicely. |
![]() |
| Perfectly thick sauce and tender beans |
Subscribe to:
Posts (Atom)