Thursday, February 18, 2016

#lifegoals

In no particular order:

1. Write more. Just for me is fine.

I miss the writing process. There's something so beautiful about hearing your voice on the page. I may not be any good at it, and that's okay too.

2. Move back to be closer to my family.

I miss them so much. Being the only ones in this city (what with Phil's family being overseas) isn't easy. The only thing - I say that as though this is no big thing - is our jobs. We both have great positions here that would be hard to replicate in Ottawa. We make so much here, but we'd only need one of our salaries there.

3. Lose 40 lbs.

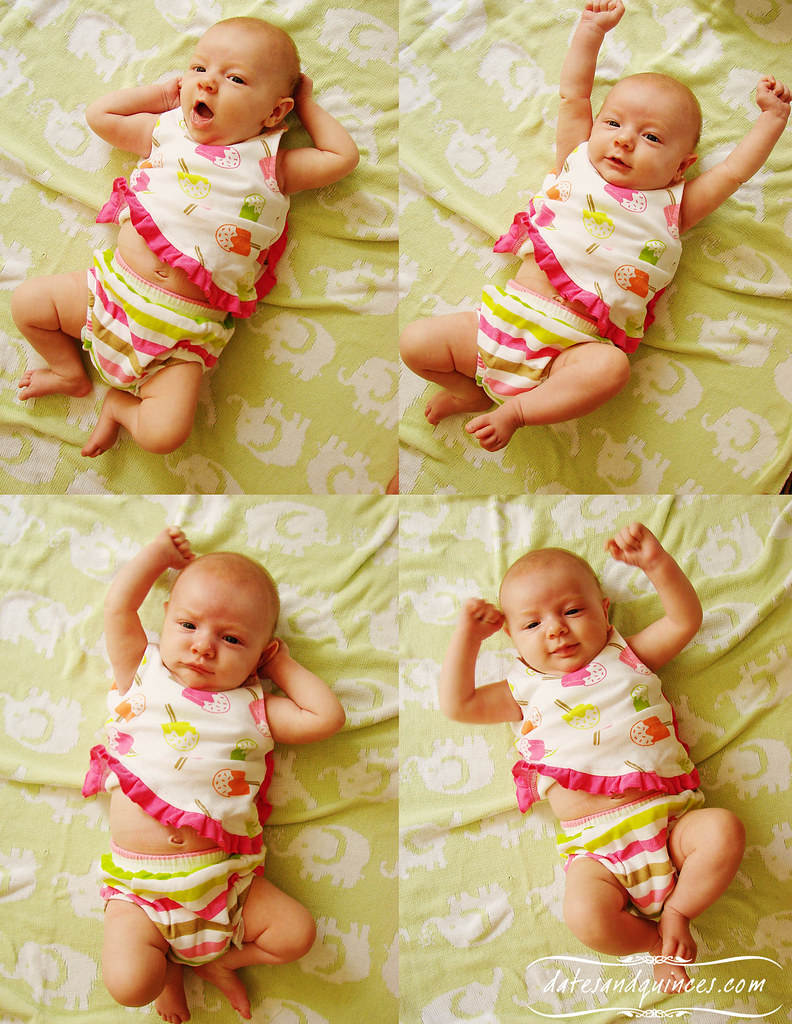
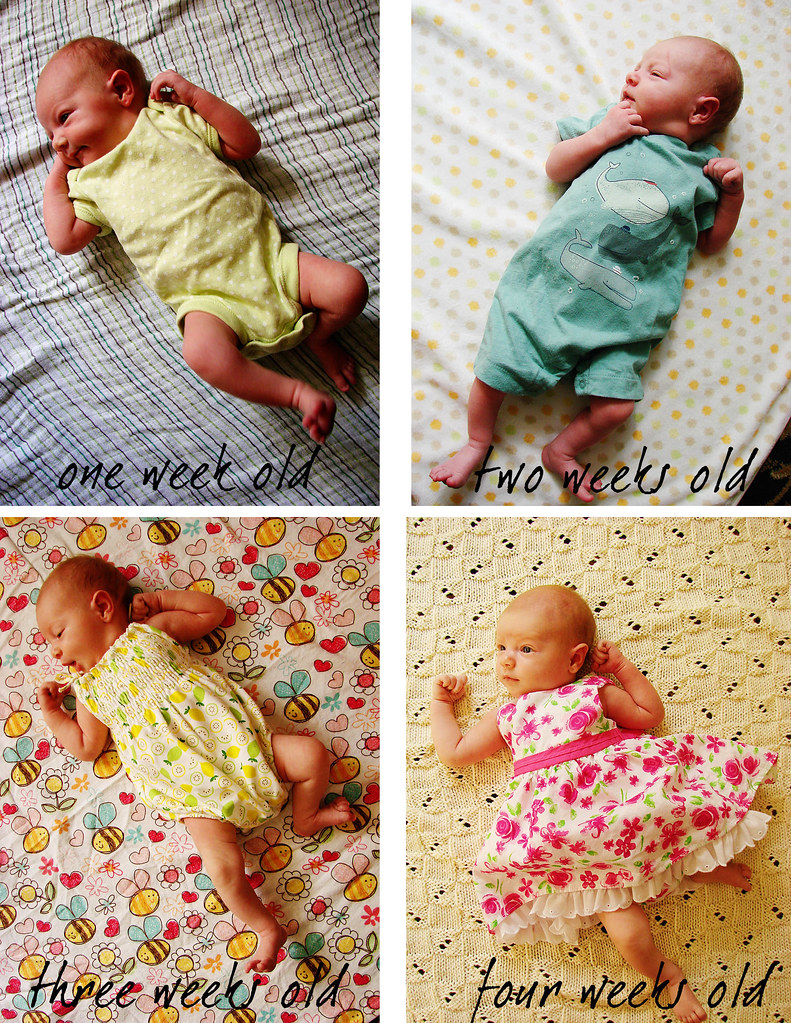
Need I say more. I've been hanging on to the baby weight. Never mind that she's 3½ now.

4. Build a house. 

This has been a life goal since I was a child, and I used to buy house plan books. I would flip through them and mark off which bedroom would be mine (because obviously the master was going to my parents). Now, my focus is a little different: I would love to build a passive house - or something close to a passive house. Lots of recycled wood, great insulation, triple glazed windows, solar panels... The list goes on and on. Which leads me to...

5. A garden

We live in an apartment now, and I haven't had access to a garden in eons. My mother is a great gardener, as was her mum. When I was a teenager, I had a little vegetable plot in her garden, and I would so love to have that again. In my dreams there would be fruit trees, sugar maples and a water garden.

6. Continue travelling

We've been very fortunate to have been able to travel lots in the eleven years we've been together. Things have slowed down considerably since we had Audrey - a mortgage payment a month in child care fees will do that. We need to get over to the UK at some point, but the cost of that feels so astronomical. In addition to Hawaii, I would also love to go back to Vancouver Island to visit my family there.

Monday, November 12, 2012

Pumpkin Ice Cream Sandwiches

Thanksgiving has long since come and gone for us here in Canadaland, and usually, I'm not much of a pumpkin enthusiast outside of that holiday. But, toward the end of October, my husband's parents and brother made the leap across the pond from England, and it seemed like a good idea to have a Thanksgiving dinner with them.

As they'd never tried pumpkin as a dessert ingredient before, I opted to forgo the pumpkin pie (honestly, I think it's an acquired taste) and did my pumpkin angel food cake with salted cinnamon caramel instead. But, this left me with half a can of leftover pumpkin puree, and, like I said, I'm not much of a pumpkin enthusiast.

The story could have ended with the leftover puree in the green bin, but I feel guilty every time I throw ingredients away! So, I was determined to find some use for the pumpkin, and preferably something easy that I could do while Audrey was napping.

After perusing several recipes, I settled on making a batch of spice infused pumpkin ice cream. And, what better use for ice cream than putting it into sandwich form?


I adapted a Cooking Light recipe for my purposes. You can choose to use low and non-fat dairy products here, or you can do what I did and fatten the thing up. Or go half and half and use what you've got on hand.

Whatever you choose, it's going to be totally delicious.

Pumpkin Spice Ice Cream

Adapted from Cooking Light

Ingredients

1½ cups milk, divided
2 tbsp dark brown sugar
2 large egg yolks
1 (14 oz) can sweetened condensed milk
1 tsp vanilla extract
¼ tsp ground nutmeg
1/8 tsp ground ginger
1/8 tsp ground cinnamon
pinch salt
1 cup canned pumpkin
1 tbsp bourbon
1 cup sour cream

Directions

1. Combine 1 cup of the milk with the brown sugar in a saucepan and heat until 180º, or until tiny bubbles form around the edges. Do NOT bring to a boil. Remove from heat.

2. Place egg yolks in a bowl and whisk lightly. Slowly add hot milk mixture to egg yolks, whisking constantly. Return mixture to pan and cook, stirring constantly, over medium heat until mixture thickens enough to coat the back of a spoon. Remove your newly made custard from heat and strain through a fine mesh sieve into a medium bowl. Discard any solids left behind in the sieve.

3. In a medium bowl, mix together the remaining ½ cup of milk, the sweetened condensed milk, the vanilla, nutmeg, ginger, cinnamon and salt. Stir in pumpkin and then gradually whisk in the custard. Cover and chill for at least 8 hours to allow the flavours to come together.

4. Combine ½ cup of the pumpkin custard mixture with the sour cream. Add back into the chilled pumpkin mixture and stir well until combined. Pour into the canister of an ice cream machine and freeze according to manufacturer's instructions.

5. Once finished, spoon ice cream into a freezer safe container and freeze 1 hour or until firm.

So that's the hard part! The easy part is assembling the sandwiches. I used oatmeal cookies and sandwiched a couple tablespoons of the ice cream (which I'd softened on the counter for 30 minutes) in the middle. Soooo good! If you have soft oatmeal cookies, I think those would be the best option. I was lazy and just bought some boxed crisp oatmeal cookies.

Thursday, September 06, 2012

The beginning of the school year and a layered pasta salad

Yesterday marked the first day that I haven't been either in school or teaching since my brief stint of teacherly unemployment in 2007. That's right, since I've been in kindergarten, I can count three Tuesdays after Labour Day when I haven't been part of the education system (2003 - working at Louise's Belgian Chocolates; 2008 - waiting on the supply teaching list to get hired; 2012 - mat leave). Honestly, it leaves me feeling kind of at a loss.

I know there are lots of people who would kill to have a year off, but I'm a little sad not to be in the classroom. Interacting with more than a hundred people a day makes me happy. It keeps me entertained and I laugh a lot.

When I started teaching junior high school, I thought: there's a reason no one wants to teach this age group.

And then I realized that 12-15 year olds, especially when in their own school, are pretty much the perfect combination of children and adults. They're learning sarcasm, but they still believe in magic in the world. It's all kinds of lovely.

So, being at home with a baby... well... this is out of my comfort zone. Teenagers, I get. Babies... not so much.

Of course, when they're adorable as Audrey is, it's hard not to spend time laughing and smiling at her. Especially when she makes faces like this:

The many stretches (or fist pumps or YMCA renditions) of Ms. Audrey
So, the plan is to take some time to focus, not only on the wee one who just passed out in her swing, but also to refocus on healthy eating and exercise. So, on that note, I present a clean eating pasta salad:


Not the best picture in the world, but the container isn't perfectly clear, and frankly I don't have time to style my food. =P

The colours are very pretty though:


 Balsamic Tuna Pasta Salad

(from Clean Eating, Aug/Sept 2012)

serves 4 - 2 dinners & 2 lunches

Ingredients

1 cup brown rice pasta fusilli/rotini
4 tbsp white wine vinegar
4 tbsp balsamic vinegar
¼ tsp dried basil
¼ tsp dried oregano
¼ tsp crushed red pepper flakes
2 tbsp water
¼ cup finely chopped sun dried tomatoes
¼-½ tsp kosher salt
¼ tsp freshly ground black pepper
1 tbsp olive oil
2 6oz cans water packed tuna, drained
½ pint cherry tomatoes, halved
a handful cremini mushrooms, sliced
mixed salad greens
2 oz grated light mozzarella cheese

Directions

1. In a large pot of boiling water, cook pasta according to package directions.

2. Meanwhile, in another small pot, heat vinegars with basil, oregano, red pepper flakes and water. Bring to a boil, then remove from heat. Stir in sun dried tomatoes, salt and pepper and set aside. Once slightly cooled, whisk in olive oil.

3. To assemble in layers, put a quarter of the dressing in the bottom of a 2 cup container. Layer in a half can of tuna, followed by pasta, mushrooms, tomatoes. Fill the rest of the container with salad greens and top with cheese. It's important that the salad greens don't touch the dressing; if they do, they'll get soggy. You can make this up to a day in advance.

Wednesday, August 15, 2012

So, life got a little busy...

Some people love being pregnant. I am resoundingly not one of them. Between constant, debilitating pelvic joint pain which left me barely able to walk from about February through early July, and general malaise, exhaustion and a particularly challenging class (okay, not strictly pregnancy related, but it certainly didn't make life easier), I feel like I barely made it through July.

At the end of it though - and by, the end, I mean July 18th - our baby decided to make her debut.

To say that the whole labour experience was a comedy of errors would be doing the people at the hospital a disservice. I WILL say though that between the epidural taking an hour to administer (it usually takes 10 minutes) because the student doctor (I'm sorry resident) needed help from his attending (and even then, she had to do it in the end), going through 6 nurses, including one who responded to my question of "How dilated am I?" with "Have you ever had Yorkshire pudding?" and, the epidural only working on half my body at a time before finally failing in the end (so I got to experience most of my labour and birth, whee! Not at all what I wanted) AND the doctors having to use a vacuum as the baby was sunny side up right until the end, both my husband and I managed to laugh our way through most of the experience.

Except the actually moments of delivery. I screamed a lot during those.

I'll be honest, the fact that I made it to 6 cms med free makes me pretty proud. Especially because I spent most of them sitting still on the edge of the hospital bed being poked repeatedly by the epidural needle. The whole experience gives me a lot of faith that I could handle doing it naturally.

Not that I want to. It's just nice to know that I could do it.

Audrey Piper was made her grand debut at 11:02 am on July 18th and has pretty much ruled our lives with a cute but iron fist since then.


I joke, she's actually been a pretty chilled out baby to date. The only thing that really upsets her is when I don't feed her fast enough. She also happens to be a grazer throughout the day, which is pretty reminiscent of my side of the family.

Alright, I have to share this picture too, because it's one of my favourites. Audrey at 5 days old:


If I'm very lucky, she'll sleep for 4-5 hours of the night followed by another 2-3 after her early morning feed. So, we're not terribly sleep deprived... but the 5-6 week mark (which, I understand, is when their crying peaks and they're generally at their most cranky) is yet to be upon us, so I don't want to jinx thing!

For your daily dose of cuteness, here are 4 pictures, each taken a week apart (one week old- four weeks old). I'm totally unbiased in saying she's the most adorable baby ever, right?


With the first four weeks behind us, I'm hoping to get back into the swing of blogging regularly. Honestly, I'd hoped to have done this sooner, but today marks the first time that she's been willing to nap anywhere but my arms.

It might surprise you, but it's hard to type with just one hand, while holding a baby. My husband has managed to do a pretty good job of it with on the iPad, mind you, so maybe there's hope for me yet.

Thursday, March 15, 2012

Swiss Chard & Sausage Lasagne with Meyer Lemons

The weather in Toronto has been ridiculously gorgeous this week. Just ridiculous. I walked around downtown in jeans, a t-shirt and flip flops today. I used to be able to bet that we'd always get one huge snowstorm in March. But over the past 3-4 years, that hasn't happened.

The influx of spring leaves me wanting lighter, brighter flavours. I want to gently poke my head out from beneath the culinary blanket of braised, rib sticking food. Emphasis on the gently. There's nothing pleasant about a rude awakening.

So, while revisiting an old Martha Stewart magazine in search of recipes for Easter (my parents and brother are staying with us this year!), I stumbled across a recipe for chard, sausage and lemon lasagne. It hit the right notes for me - bechemel sauce for comfort, lemons for brightness, tons of chard for veggie infused goodness (and seasonality - the chard at the shops are gorgeous right now) and sausage for that awesome hit of porky goodness.


And, it came together and cooked in under an hour to boot. Rock on, Martha. For the record, I used Meyer lemons because that's what I had on hand. The original recipe calls for regular ones, but the advantage to the Meyers is you get a slightly different aroma and their skin is thinner, so they incorporate better.

Swiss Chard & Sausage Lasange with Meyer Lemons.

(from Martha Stewart Living)

Ingredients

2 tbsp butter
¼ cup flour
3 cups milk
1 cup finely grated Parmesan cheese
kosher salt and coarsely ground pepper
1 bunch chopped Swiss chard
1 lb sweet Italian sausages, casings removed
1 lemon, sliced paper thin
6 no boil lasagne noodles.

Directions

1. Melt butter in saucepan. Stir in flour and cook for two minutes. Gradually, whisk in milk and bring to a boil. Boil for one minute, stirring constantly. Remove from heat and stir in 3/4 cup of the Parmesan cheese, and season mixture with salt and pepper. Stir in the chard and set aside.

2. In a small saucepan cover lemon slices with several inches of water. Bring to a boil, reduce heat and simmer for 7 minutes. When finished, gently remove slices from pot with a slotted spoon and let drain on paper towel. Meanwhile, in a large skillet, cook Italian sausage, breaking up pieces with a wooden spoon as they cook.

3. Preheat oven to 350º.

4. To assemble lasagne, ladle ¼ cup of the sauce into the bottom of an 8"x8" baking dish. Top with two lasagne noodles. Layer 1 cup sauce and ½ the sausage mixture on top. Repeat with another layer of noodles, sauce and the rest of the sausage. Before adding the last two lasange noodles, top sausage with half of the lemon slices. Top with lasagne noodles, the rest of the sauce and the remaining lemon slices.

5. Cover pan with foil and bake for 30 minutes. Remove foil, sprinkle remaining Parmesan on top of lasagne and broil for 2-3 minutes, or until top is golden and bubbly. Remove from oven and let sit for 5 minutes before serving.

Tuesday, March 13, 2012

The Sweet Tooth Continues - Raspberry Loaf Cake

Does the whole wheat flour (a bit), ground flax (a couple tablespoons) and mere two tablespoons of butter make this healthy (shhh, don't mention the 6 egg yolks)?


No? Okay, how about if I sent half of it to my husband's work (I'm on March Break, so my coworkers are out of luck) so it doesn't get eaten by me?

Moderation, right? And, I've moderated if I've only eaten 3 servings of the cake in as many days... right?

This argument is getting weaker by the moment.

Anyway, this is a lovely, quick recipe that goes down so nicely with a cup of tea (we had it with this gorgeous strawberry & chocolate tea that we picked up from the Tealicious booth at the One of a Kind Show over Christmas). There's a little bit of yeast in the cake to give it some extra rise, and it slices up moist and like a dream.


This really is best eaten the day it's made, though you can stretch it to two. Be careful about garnishing with fresh raspberries if you're planning on keeping the cake around longer. They will go mouldy.

Martha's Iced Raspberry Loaf Cake

 (slightly adapted from here)

Ingredients

Cake

3/4 cup all purpose flour
¼ cup whole wheat flour
½ tsp instant yeast
3/4 tsp coarse salt
2 tbsp ground flax
2/3 cup plain Greek yogurt
2 tbsp butter, melted
3 large eggs + 3 large egg yolks
1 cup + 2 tbsp granulated sugar
1½ tsp vanilla extract
1 cup raspberries

Icing

2 tbsp butter
¼ cup whole milk
½ tsp vanilla extract
2½ cups icing sugar

raspberries for garnish

Directions

1. Preheat oven to 350º. Grease a 5"x9" loaf pan with butter (or cooking spray) and line the base with parchment paper. Butter the parchment as well. Set aside.

2. In a medium bowl, stir together flours with yeast, salt and flax. In a small bowl, stir together the yogurt and the butter. Set both aside.

3. In a large bowl, use a hand mixer to beat together eggs, sugar and vanilla extract until mixture is light and thick. It should be a very pale yellow. Gently fold in the dry ingredients. Once incorporated, fold in the yogurt-butter mixture and then the raspberries. Pour into the prepared pan and bake until pale gold and a cake tester inserted into the centre comes out clean. Martha says this will take 45-50 minutes, but it took my cake 70 minutes to fully cook. Remove from oven and let cool in pan on a rack for 20 minutes before removing from pan. Let cool completely on rack before icing.

4. To make icing, heat butter, milk and vanilla in a saucepan. Whisk in icing sugar, ½ cup at a time, until mixture is thick but pourable. Pour half of the mixture over the cake. Let set for 3-4 minutes before pouring the rest over. Let set for at least 10 minutes before serving.

Sunday, March 04, 2012

Vanilla Glazed Donuts

It's amazing how your eating habits change when you're pregnant. At least, I'm amazed at my reversion back to my 14-17 year old tastes. I was reading somewhere that a lot of women seek out food that remind them of their childhood, which would totally explain why I've had macaroni and cheese every Sunday for lunch for the past month. Today, I even threw hot dogs (albeit organic ones made with ecologically responsibly raised beef) in.

Between my morning cravings for fruit (I went through 3 grapefruit yesterday) and my dinner time cravings for something that includes Frank's Red Hot Sauce (pregnant women must keep them in business), I've found what I'm making in the kitchen to all be the less than healthy stuff.

It's weird putting on this much weight but not having that much of it go to my hips (although, I noted a double chin in action today... commence the high pitch whine now). I'm scared that, as I reached the halfway mark on Friday that July is going to come around and that I'll have put on way more than I ought to have.

Of course, that doesn't stop me from making desserts. Nor does that stop me from eating them.


Yes, they're donuts.

Yes, they're vanilla glazed.

Yes, they're delicious.

And yes, I started making them at 8 pm one night because I HAD to have them.

But, BUT (and I say this before you roll your eyes and start passing judgment), they're

a) baked

and

b) contain 1 tbsp of butter divided between 12 donuts.

So there. Not (as) terrible for me.

At least they wouldn't be if I hadn't already eaten 2 today. I can't even promise you that there's an end in sight.

Click here for the recipe. I suggest using more than a pinch of nutmeg, and adding a teaspoon of vanilla to the dough when you're mixing in the egg. I'm planning on attempting a chocolate mint version of these over March Break (next week! wheee!).

Also on the March Break to make list: Meyer Lemon and Rose Marmalade and about a million DIY things for our guest room/eventual baby room. Who wants to bet I get none of that accomplished?

Tuesday, February 14, 2012

Cinnamon Sugar Donut Muffins

Does anything say love more than the warmth of cinnamon and sugar?

Need I say more?


Flavoured with vanilla and nutmeg and rolled in cinnamon sugar, these donuts are the perfect fluffy antidote to a bad work day. Best of all, they take less than 30 minutes in total. In the interest of full disclosure, I made these as a vegan treat, but it's easily done non-vegan too.

Cinnamon Sugar Donut Muffins

(from C'est La Vegan)

Ingredients

3/4 cup granulated sugar
2 tsp baking powder
1½ cups all purpose flour
¼ tsp salt
heaped ¼ tsp ground nutmeg
1 flax egg (1 tbsp ground flax mixed with 3 tbsp water OR 1 egg)
3/4 cup milk (non-dairy or dairy)
¼ cup canola oil (or melted coconut oil)
1½ tsp vanilla extract

2 tsbp earth balance (or butter)
1/3 cup granulated sugar
1 tsp ground cinnamon

Directions

1. Preheat oven to 350º. Grease or spray a standard 12 cup muffin tin with cooking spray.

2. In a small bowl, whisk together dry ingredients (sugar through nutmeg). In a large bowl, stir together wet ingredients (flax egg through vanilla extract). Stir dry ingredients into wet. Spoon into muffin tin, filling each about 2/3 full. Bake for 18-21 minutes until they spring back when touched lightly.

3. Meanwhile, melt earth balance and stir together sugar and cinnamon a dish. Brush warm muffins with earth balance, then roll in cinnamon sugar mixture. Let cool on rack.
Related Posts Plugin for WordPress, Blogger...