
You can tell a jam recipe tastes delicious when you lick the plate rest your spoon was sitting on.
Not that I did that.
Cough. Cough. Ahem.
I'm sorry. Something was stuck in my throat there.
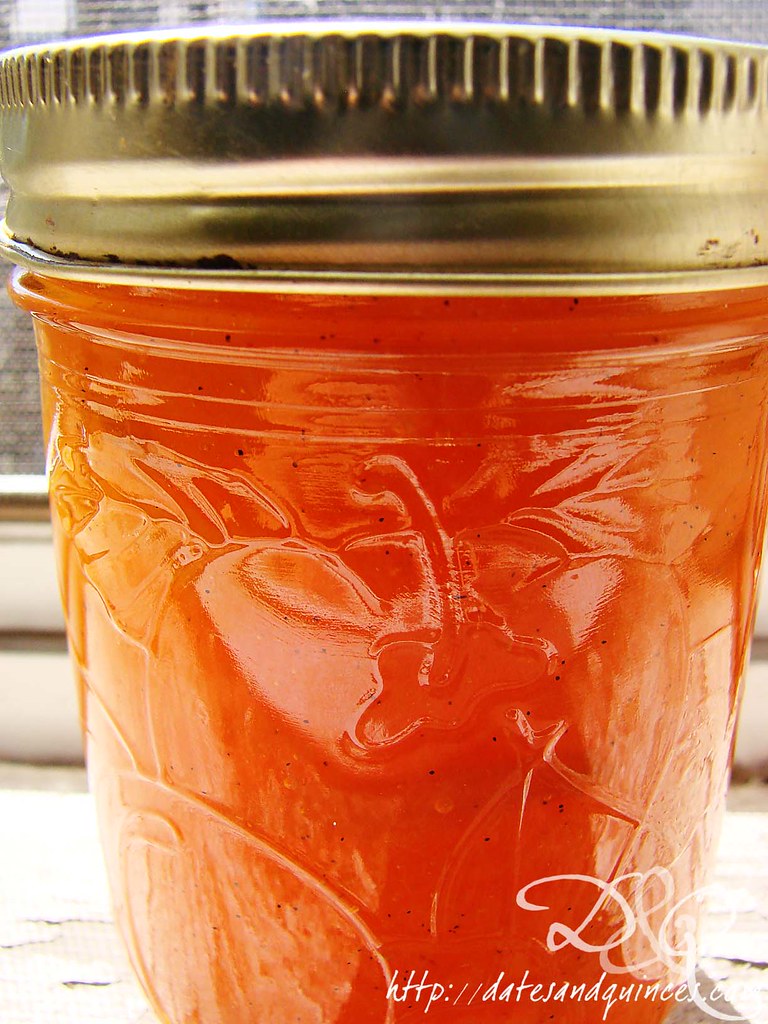
This recipe was very lightly adapted what looks like an abandoned blog: Toast. It's a shame really, because the jam turned out beautifully. Check out that amazing orange colour!
Shiro Plum Jam
makes 3 cups jam
Ingredients
2 lbs shiro plums, stoned, but not peeled
2 cups sugar
3 tbsp fresh lemon juice
½ large, plump vanilla bean
Directions
1. Toss plums in a large, non-reactive container with sugar and lemon juice. Let sit for one hour. After, place contents in a dutch oven. Bring to a boil. Boil for one minute then return plum mixture to the container. Place a piece of parchment paper directly on the surface of the plum mixture and place in the fridge overnight.
2. Process canning jars accordingly.
3. Place plum mixture in a large dutch oven. Scrape vanilla bean seeds from pod and stir into mixture. Throw the pods in as well, because a little extra hit of vanilla can never go amiss! Bring mixture to a boil and continue boiling, stirring constantly and skimming off any foam, until jam hits its setting point.
Have we talked about the setting point yet? The setting point is the point at which the jam promises, once cooled, to set to a firmer consistency.
I'm old school and do it the way my mother and I have done it for the better part of 25 years. I like to place a plate in the freezer to chill it. When I think the jam might be ready, I pull the plate out, and put a little dollop of jam on, and put it back in the freezer for 1 minute. You know the jam is ready when it wrinkles when you drag your finger through it.
If you're new school though, pull out your candy thermometer - it'll hit 220ºF.
If the jam is done, proceed to the next step. If not, keep boiling away. I think my jam took a good 20 minutes of boiling... however, I am working on the worst stove known to man (totally inefficient burners), so use your own judgment.
4. Place jam in sterilized jars and process in boiling water for 10 minutes. Remove, let cool and store.
Can I just say, this jam would be killer in thumbprint cookies. Or in cheesecake.
No comments:
Post a Comment